

Replacing the click wheel and the front and back plate on a Gen 6 IPOD Classic


Description
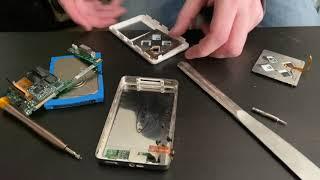
Today I'm replacing the click wheel and the front and back plate. In this video I show a full breakdown of the entire job of what is entailed in modding a generation 6 IPOD classic. This particular model is the model that is capped at installing 128gb. A true gen 7 is uncapped even though both models are considered a gen 7, people call this a gen 6 due to the firmware capping of the storage space. In this video you'll see a total disassemble of the IPOD which will teach you how to modify your own IPOD.
Don't forget to like and subscribe and I'd like to hear your feedback so leave a comment.
Time Stamps!
Intro 00:00
What the job is 00:55
Opening the IPOD 2:06
Removing the battery 04:18
Disassembling the backplate 06:38
Moving the parts to the new backplate 08:56
Disassembling the front plate 12:44
Removing the hard drive 12:48
Unplugging the screen 13:25
Separating the motherboard from the front plate 13:51
Removing screen from front plate 14:23
Preparing new front plate 14:34
Fitting screen into new front plate 15:45
Removing the old click wheel 17:00
Separating internal frame and motherboard 17:31
Unplugging old click wheel 18:31
Fitting new click wheel 18:54
Putting IPOD back together 19:15
Fitting the screen back together 21:23
Screwing the front plate to the internals 22:29
Fitting the battery 23:11
Addressing the no power issue 25:48
Clipping it together 26:09
Everything works 26:53
Outro 27:06
Like and Subscribe!
#IPODMODDING
#IPODCLASSIC


















Comments